Love writing on high-quality, handcrafted stationery? Tired of paying $8 for a nice “Thank You” card when you could be making it at home for a fraction of the price? Perfect, it’s time to make paper by hand.
Handmade paper is special. How it feels, how it looks, but especially how it’s made.
Making paper by hand is done in three main stages: gathering organic fibers, making them into a pulp, and then forming individual sheets from the materials.
Today, artisans and hobbyists alike use anything from cornhusks to denim jeans to hone their craft.
SUPPLIES NEEDED FOR MAKING PAPER BY HAND
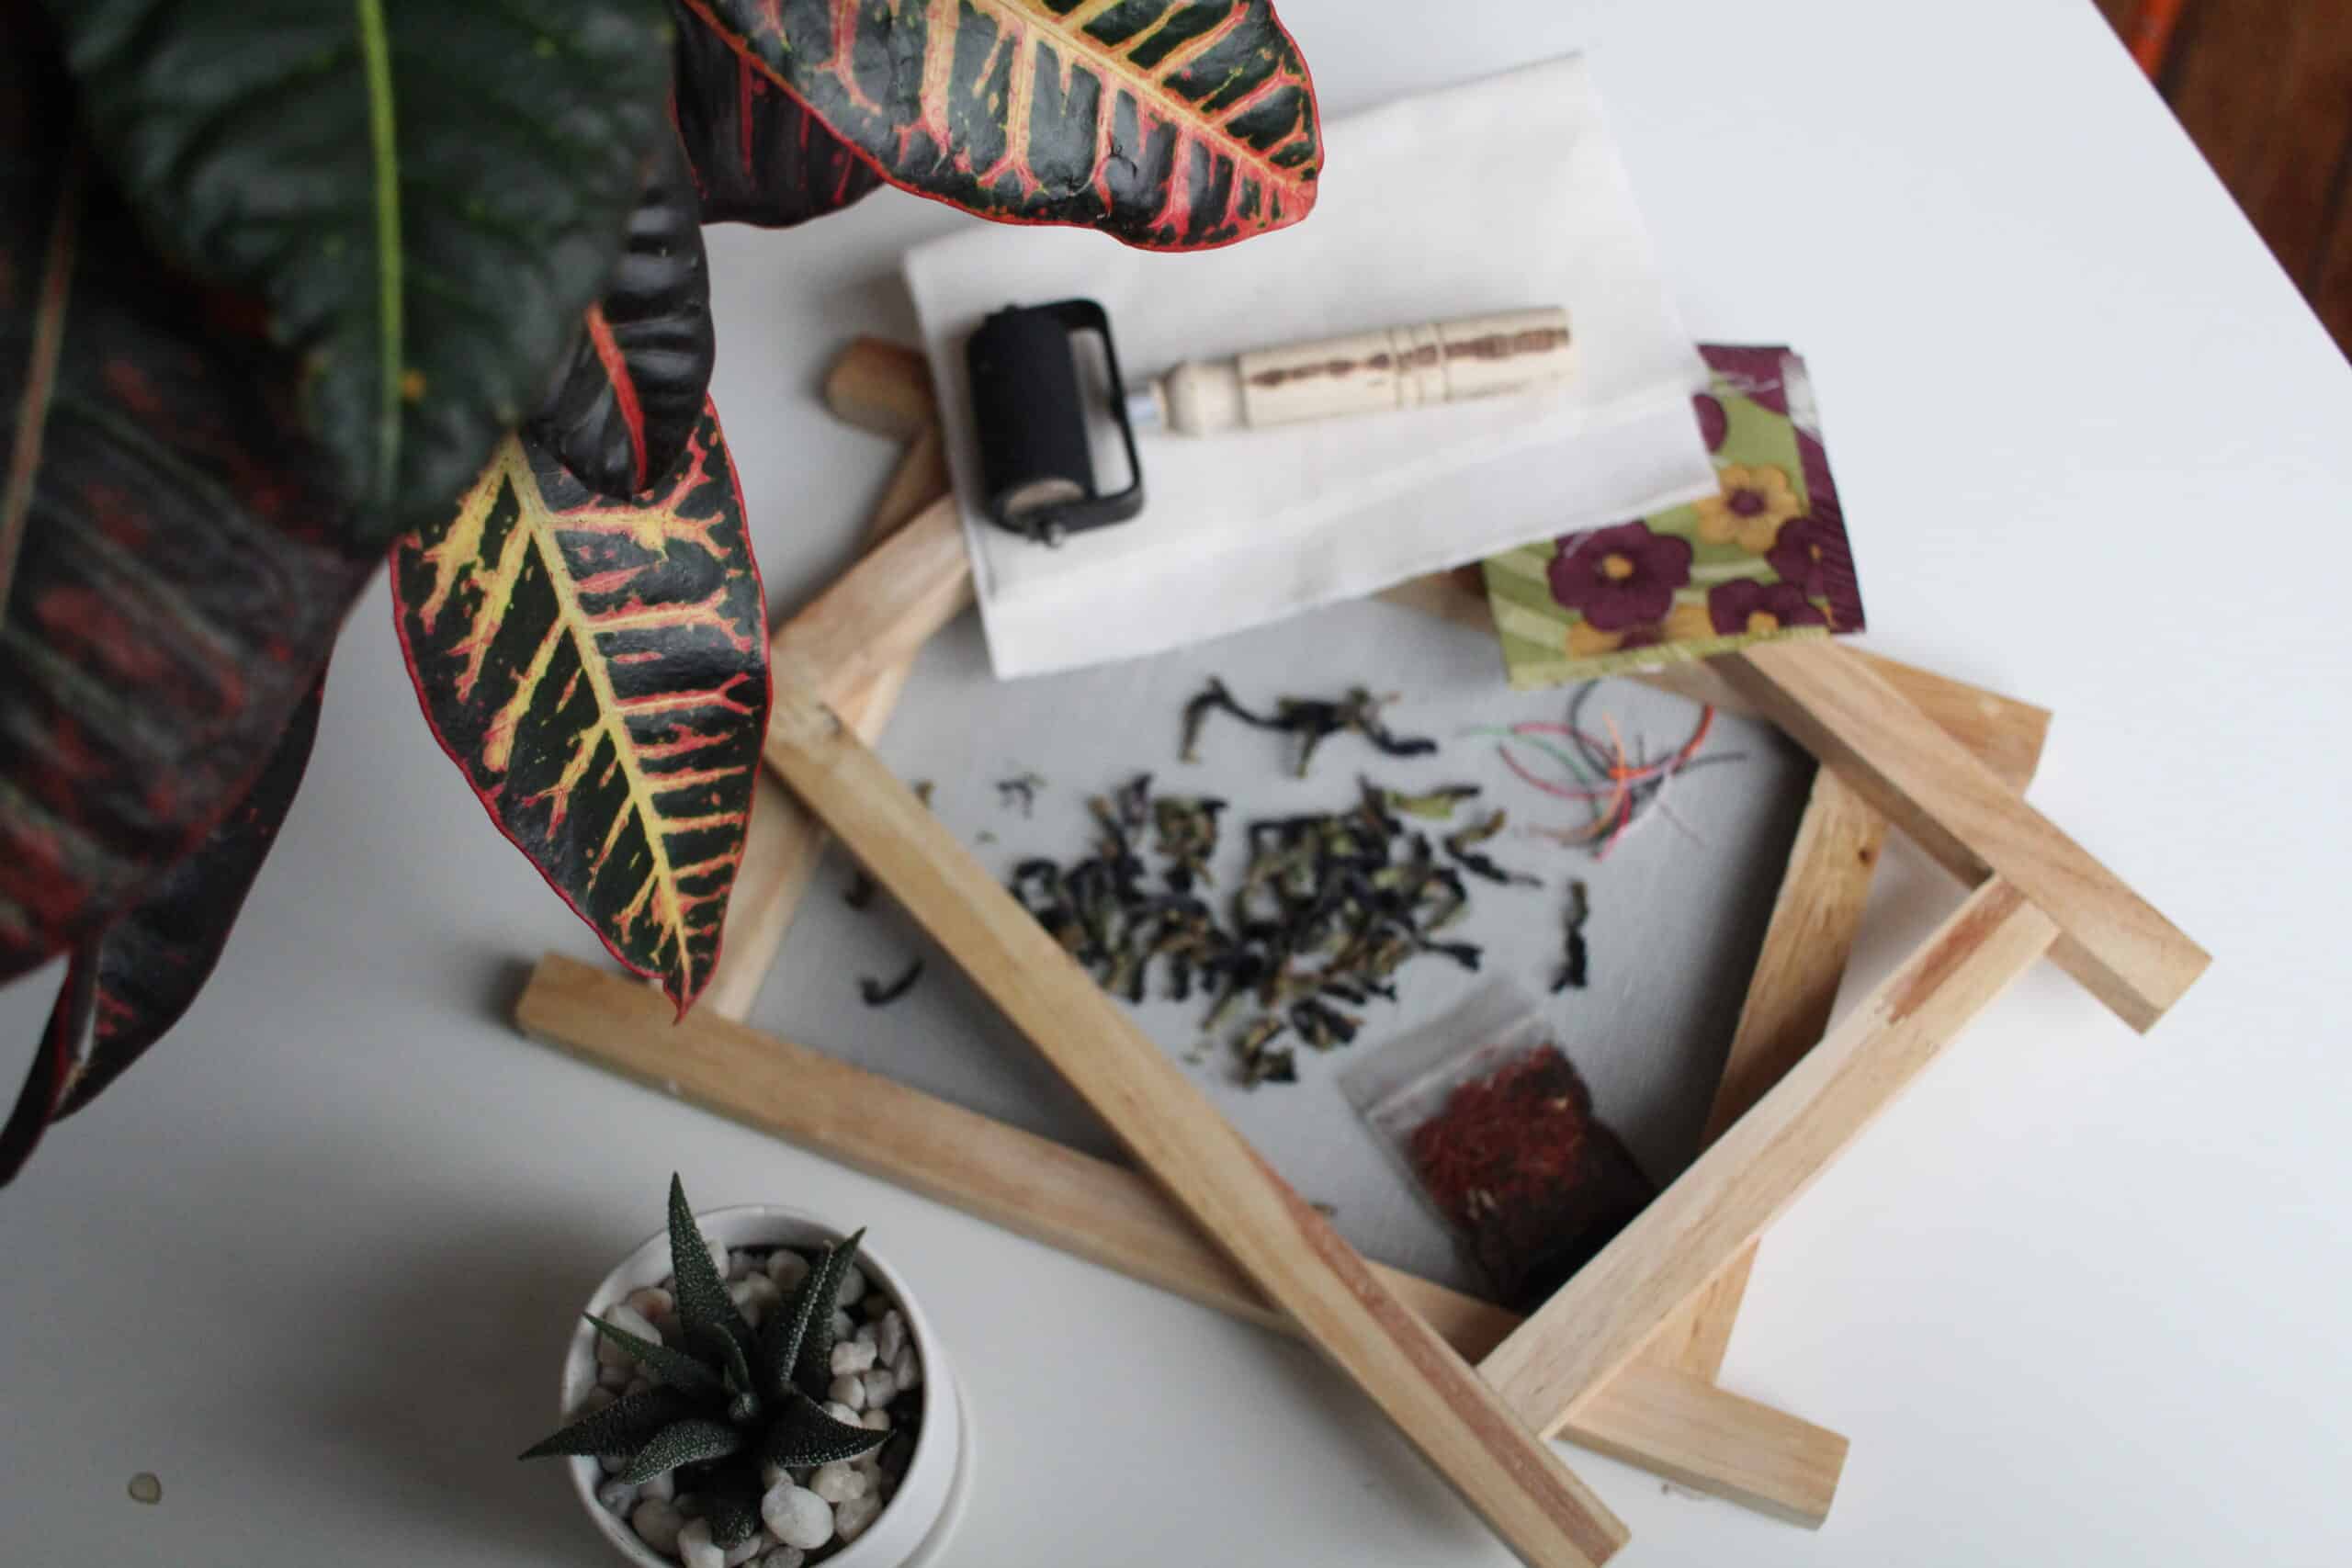
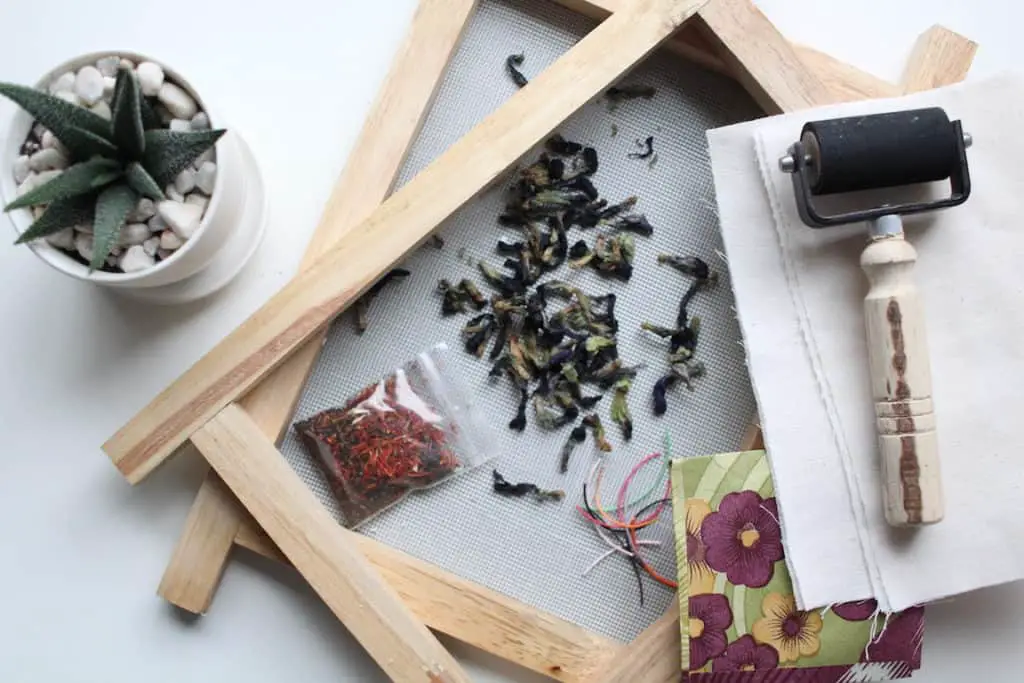
- Papermaking mould and deckle
- Paper roller
- Cotton thread (I use a multi-color thread in this tutorial)
- Plastic water basin (or your sink)
- Pea flowers
- Saffron, chamomile flowers, oolong, green tea, earl grey tea, and rooibos tea
- Packing paper or newspaper, napkins, etc.
- Small cotton sheet (washcloth or towel are fine for this too)
If you’d rather get a kit with everything you need, the paper making kit from Wooden Deckle is top notch. It’s built for a lifetime and is the closest kit, in terms of quality, to the original kit from New Hobby Box. Plus, it includes all the petals and unique colors you would need.
If you decide to use a water basin instead of your sink, be sure to get one that fits the size of your mould and deckle.
For pea flowers and the spices/teas like saffron and oolong, e.g., any replacement will work – use what you have lying around if you like. You will simply want to use pressed flowers and teas.
Additionally, any sort of paper can replace the packing paper – even receipts or office papers you have around your house. This will become the base for your handmade paper. Once you’ve collected the materials and chosen your packing paper/alternative, you’re all set.
HOW TO MAKE PAPER BY HAND
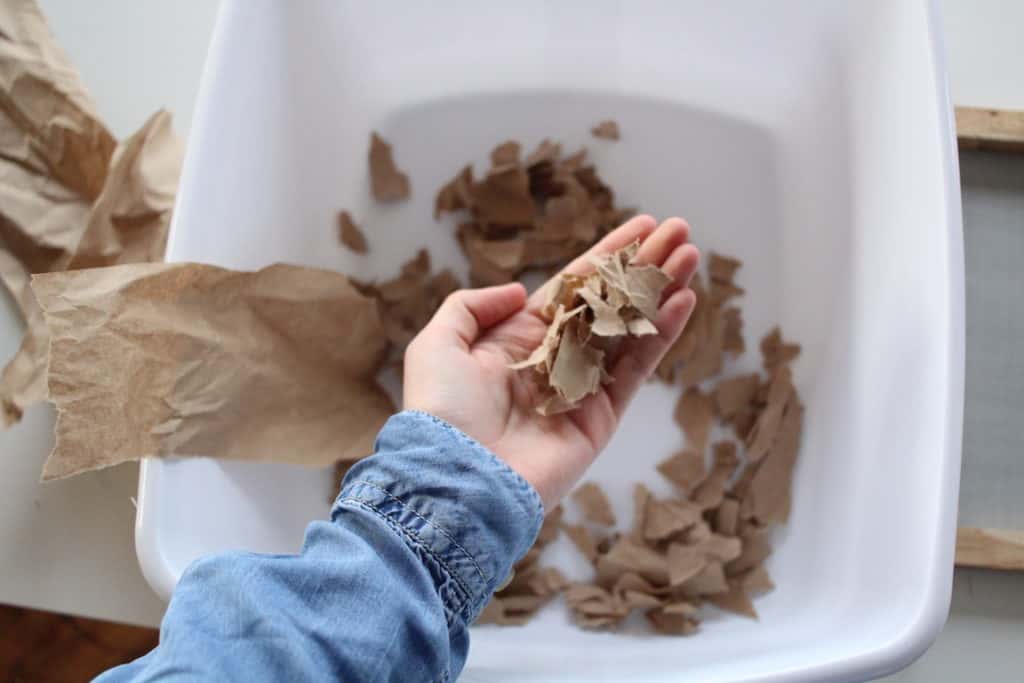
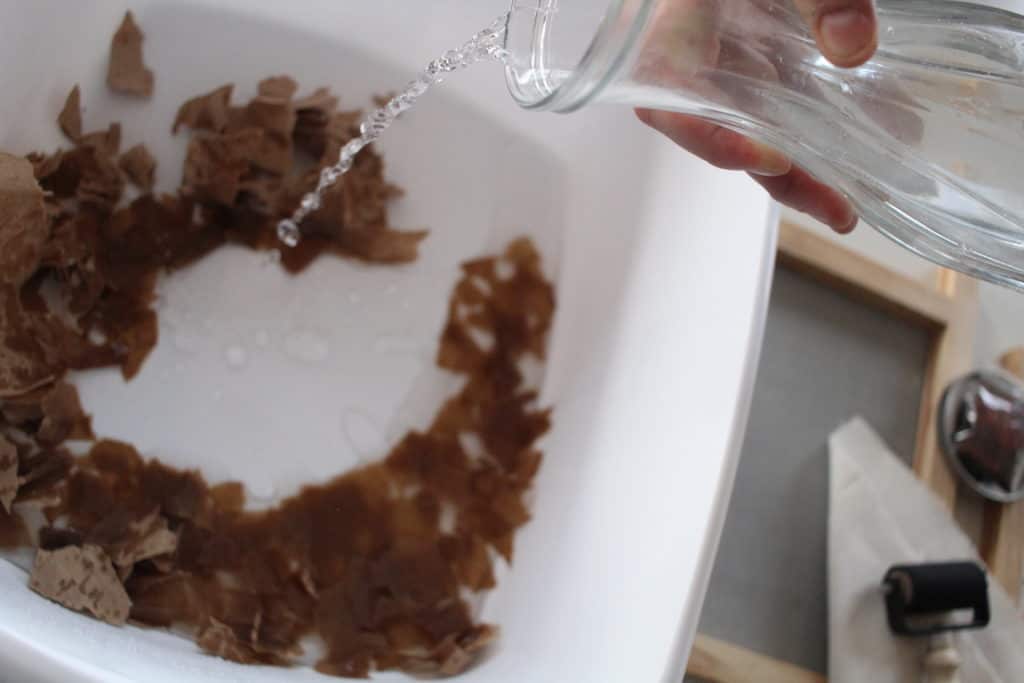
1. Rip Paper Into Fine Pieces, Place In Water Basin
To begin, finely rip up the paper. If available, you can also blend the paper using a bit of water and a blender.
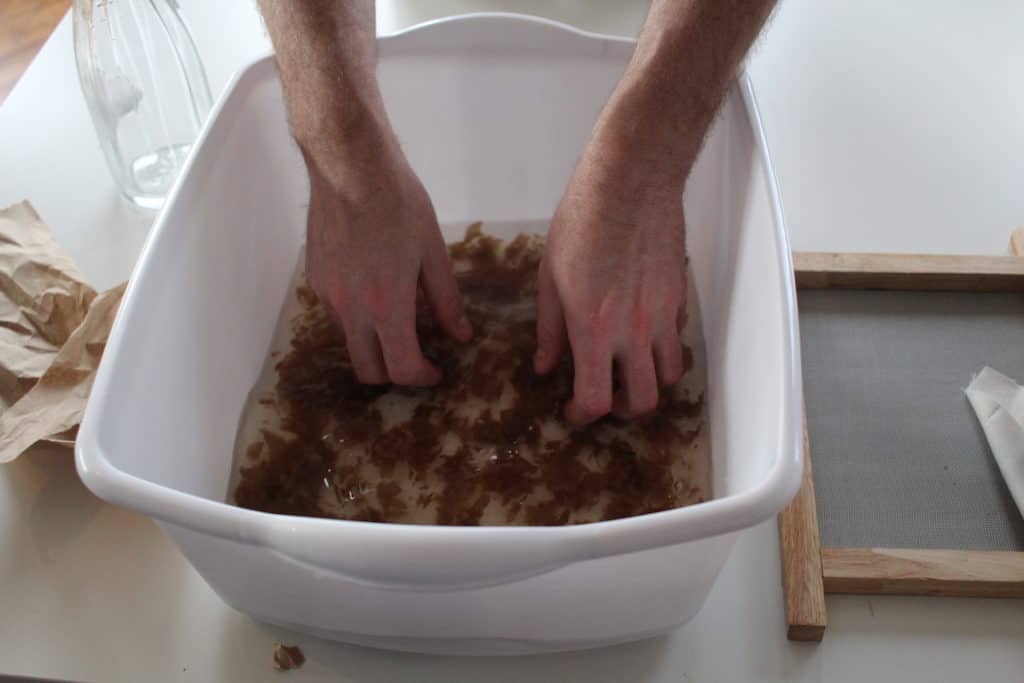
2. Add Warm Water to Basin, Hand Mix Paper And Water
Now that your shreds of paper are inside the water basin, add warm water. I recommend using your hands to mix the paper and the water, but if that doesn’t work for you, a stirring stick can be used.
3. Assemble Deckle Onto Mould
Connect your mould and deckle, assemble the deckle with the screen side facing up.
4. Dip Mould and Deckle Into Water Basin
Your paper is mixed up well? Great, dip your mould and deckle into the water. See following video for reference:
5. Sift Fibers Onto Mould and Deckle
Once you have sifted the fibers onto your mould, slowly remove the mould from the water basin – try to keep the mould level and the fibers even across the surface.
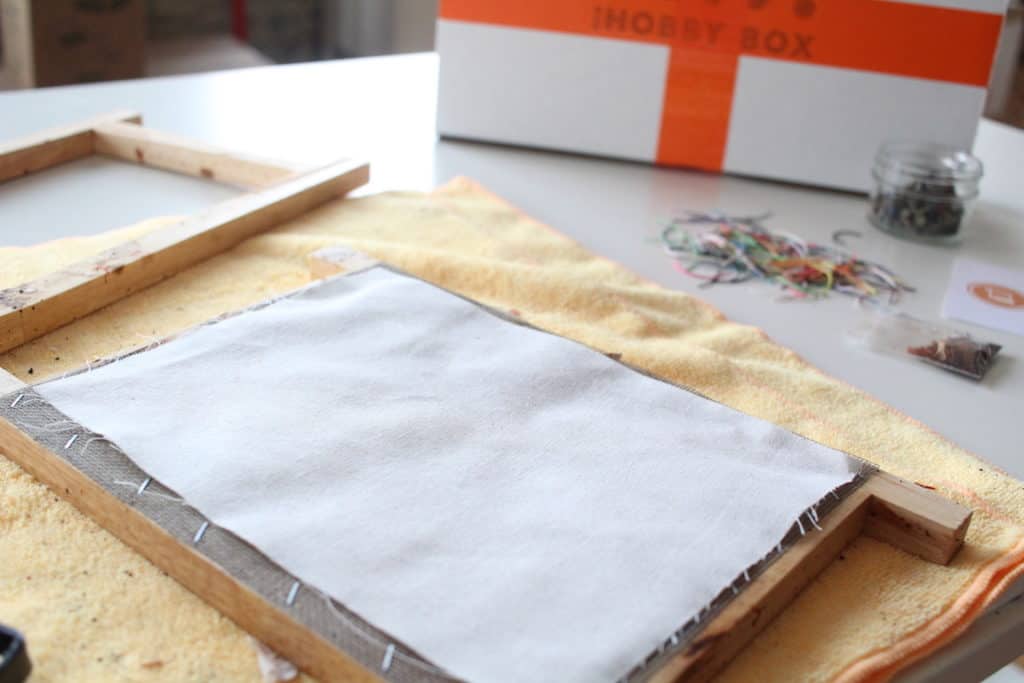
6. Remove Deckle; Add Cotton Sheet
Remove the deckle and place cotton sheet on top of the fibers. If you make more than two sheets at once, a washcloth or towel will work just as well.
7. Drain Water With Paper Roller
Take your paper roller, and roll the surface of the cotton sheet that’s laying on top of your fibers. You’re trying to drain any excess water from your paper, allowing it to stick to the cotton sheet.
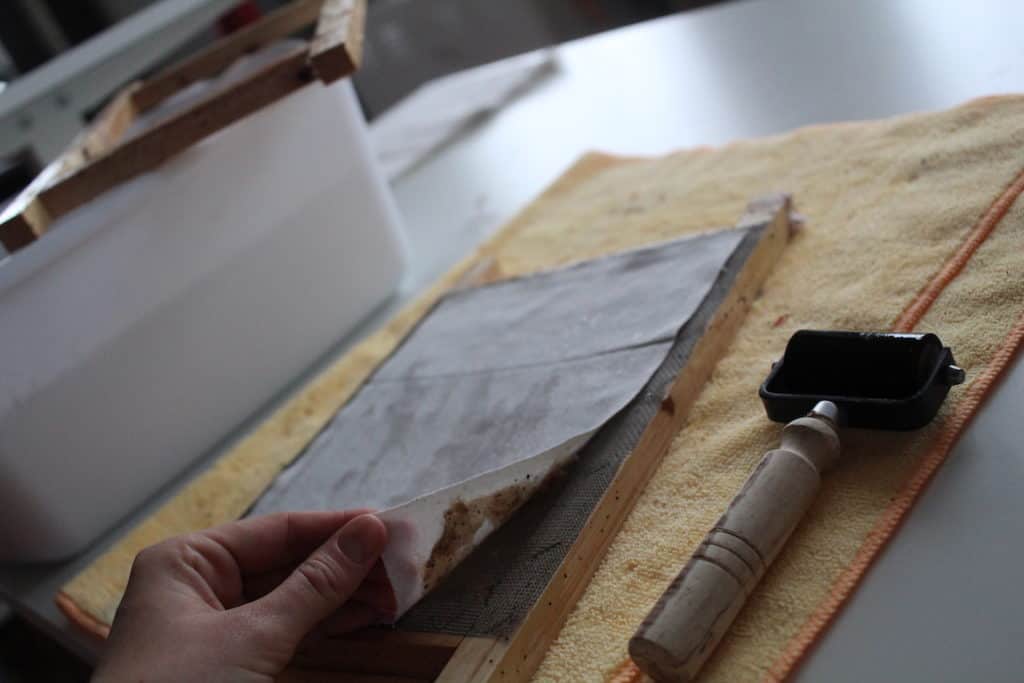
8. Remove Cotton Sheet
Being extremely careful, remove the cotton – making sure the paper is sticking to it evenly. If you’ve ever applied a temporary tattoo or tried to remove a bandage without ripping out your hair… this is very much like that.
9. Hang Paper to Dry
Once removed, hang your paper to dry. Depending on the airflow & sunlight, this can take up to 24hrs. There are other methods for drying that you can also experiment with such as sticking to a window or ironing. Here’s the window method I used.
TIMEOUT: AVOID CURLING PAPER
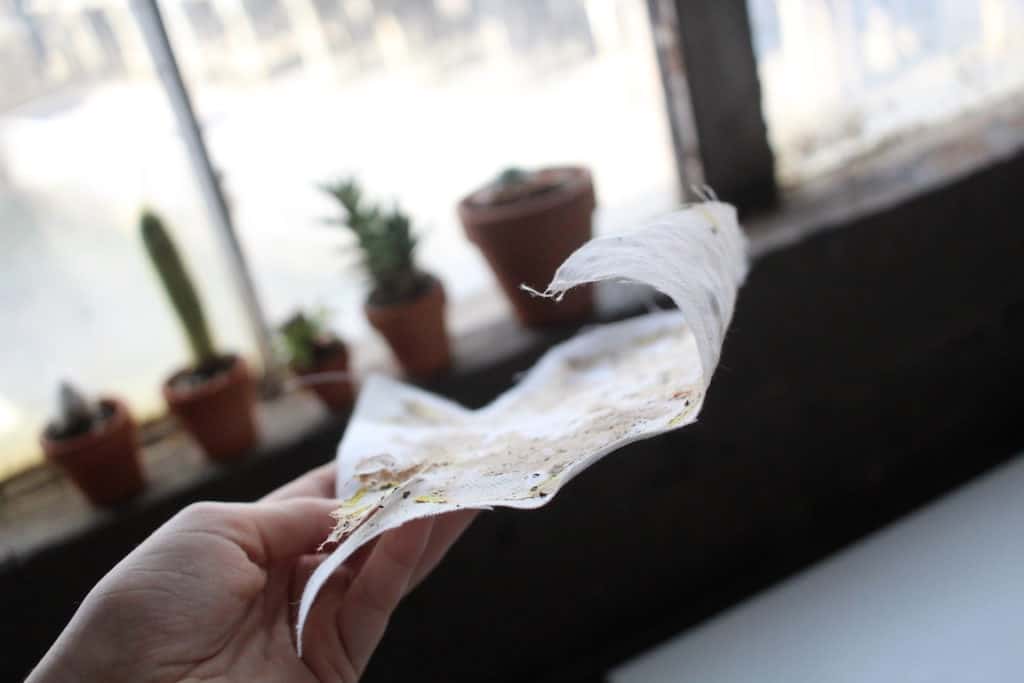
Notice the curl in this paper? Avoid this – it’s caused by unevenly distributing fibers onto the cotton. If this is happening to you, it’s usually from sifting too quickly or the fibers aren’t reaching the cotton. Here’s how to avoid both.
- Sifting Too Quickly: Pay extra attention and sift slowly and evenly into your water. It’s fine to take the mould and deckle out of the water if you notice that the fibers are even. Just start again.
- Fibers Not Connecting With Cotton: Be sure to roll over the entire cotton surface – expelling as much water as you can. Slowly pull up the cotton, paying close attention if any fiber is left on your wire. If it is, roll again.
If you dry your paper and have an unwanted curl, there a few methods you can try to fix this! One of them being an iron.
- Air dry paper and carefully peel from cotton sheet.
- Place paper between 2 sheets of cotton (cotton | paper | cotton).
- Iron on low heat.
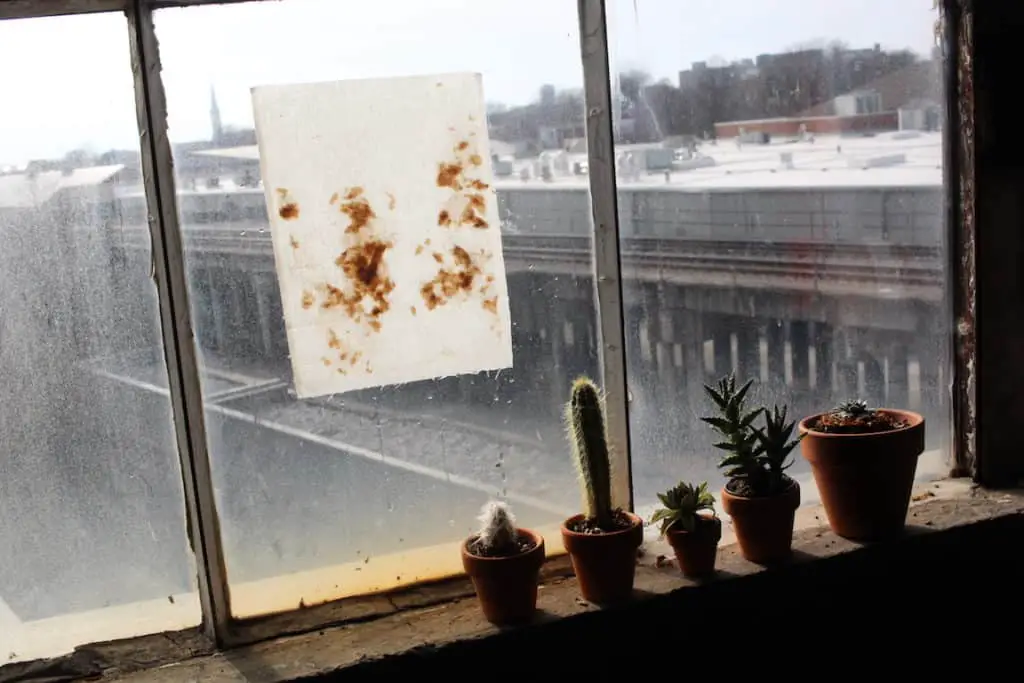
Another drying method you could try is the window drying method:
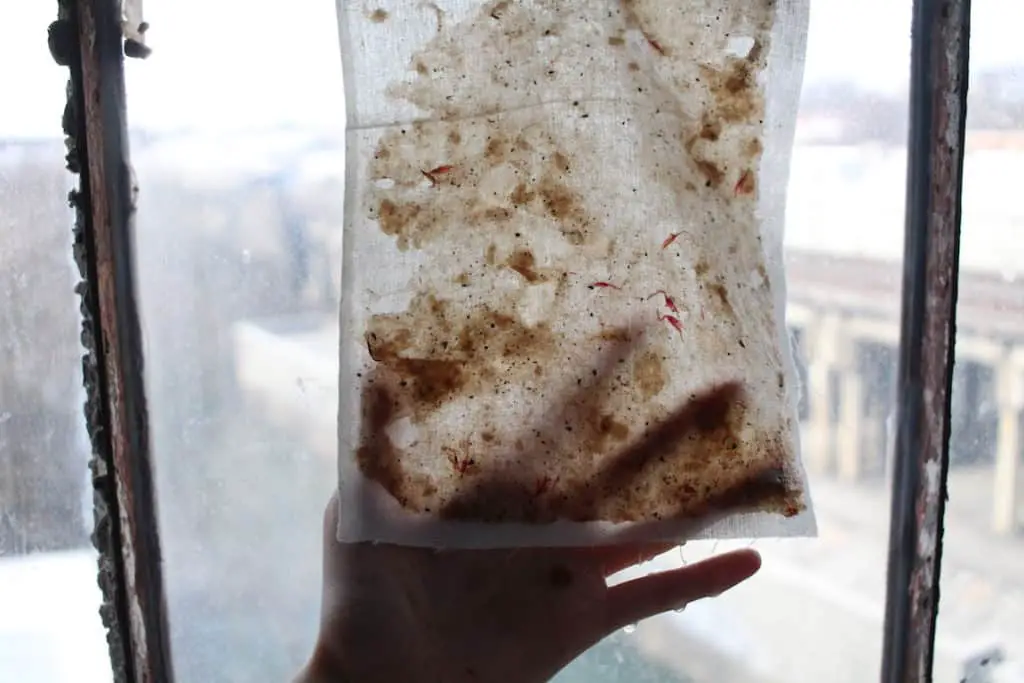
If attempting the window drying method, be sure to remove the cotton sheet. Do not allow it to dry with cotton attached like shown below.
Once you are comfortable with the papermaking process, we dare you to get curious! Add some of the cotton threads, add the tea! Heck – add something you find outside! Fine items like the tea (below) can be added before you sift.
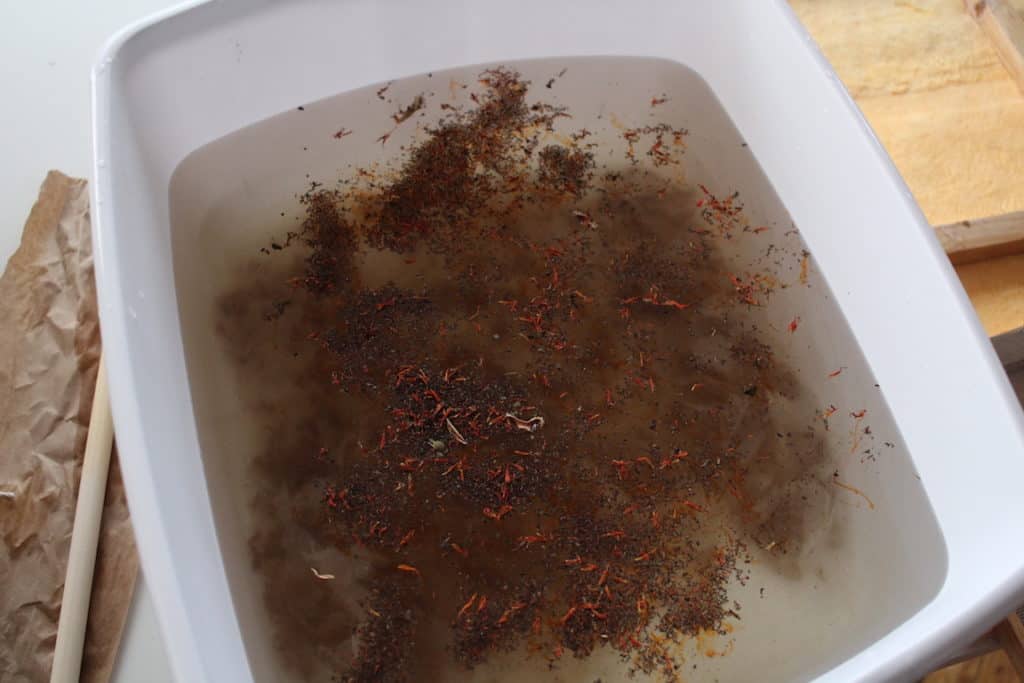
But if you wish to have complete control over the placement of your additives, first sift your paper then add directly onto your mold while still in water.
AND THAT’S HOW YOU MAKE PAPER!
It’s rather simple, at least in its simplest form. Once you have this down, and even adding teas or other pieces, you’re ready to take your papermaking to the next level. You can add flower petals to your water basin to color your paper pulp.
Here is a demonstration on this process:
If you want to use your handmade paper for a journal or book, you should check out the New Hobby Box full tutorial on Coptic stitch book binding. The paper you make here is perfect for the covers of that book.
The kit used in our book binding tutorial is made by the same great folks that created the mould and deckle kits used in this tutorial – so naturally I had to use this paper in my books.
Some other uses for your paper: mounting, card making, print making, or you could even just display them as the lovely works of art that they are.
Rome wasn’t built in a day, so if your first pass at making paper by hand isn’t a true work of art, keep going. You’ll improve, and soon enough you’ll have the best paper, and most likely the best looking “Thank You” cards in your friend group.
Whether you think it belongs in the Smithsonian or in the bin, show us and your fellow hobbyists your paper creation! @NewHobbyBox
Send us a photo of your creation with anything you discovered during the process. We’ll add your experience to the bottom of this tutorial.
Final tip: If you want to create paper quickly and at larger volumes, get an assistant 😉